First-time setup
Every deployment option ends here. A fresh RapidMX server has an admin account and nothing else: no mail domains, no
mailboxes. The Set up your server wizard in the admin console walks you through the minimum to receive your first
message: it adds your domain, shows you the DNS records the domain needs, and creates your own mailbox. Everything it
asks can be changed later from the admin console.
You need the admin password you read at the end of the install. With Docker Compose, use http://localhost:3000 in
place of https://mail.example.com below.
Sign in
-
Open
https://mail.example.com. It sends you to the sign-in page atauth.example.com. Enteradmin, then the password.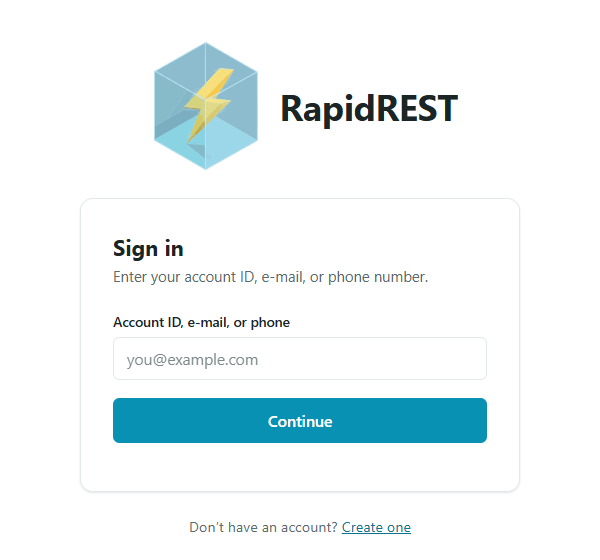
-
Open the admin console at
https://mail.example.com/admin. It asks for your password once more. The admin console asks you to confirm it's you whenever your sign-in isn't recent, because its actions affect the whole server.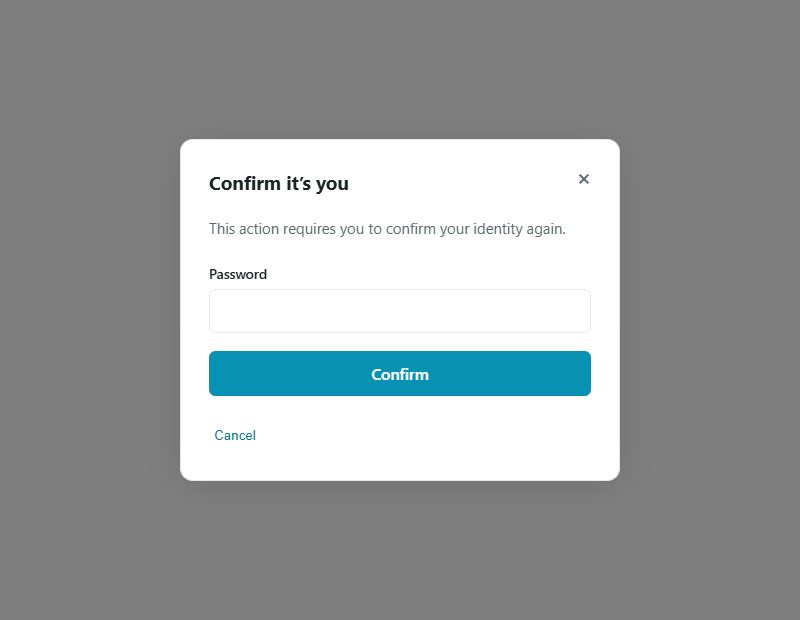
The Set up your server wizard opens on its own until setup is finished. You can come back to it later from the Mailboxes page.
The screenshots below come from an earlier release, in which Branding was step 5 and Mailboxes step 6. The current wizard asks for your mailbox first and ends with branding. The steps themselves are unchanged.
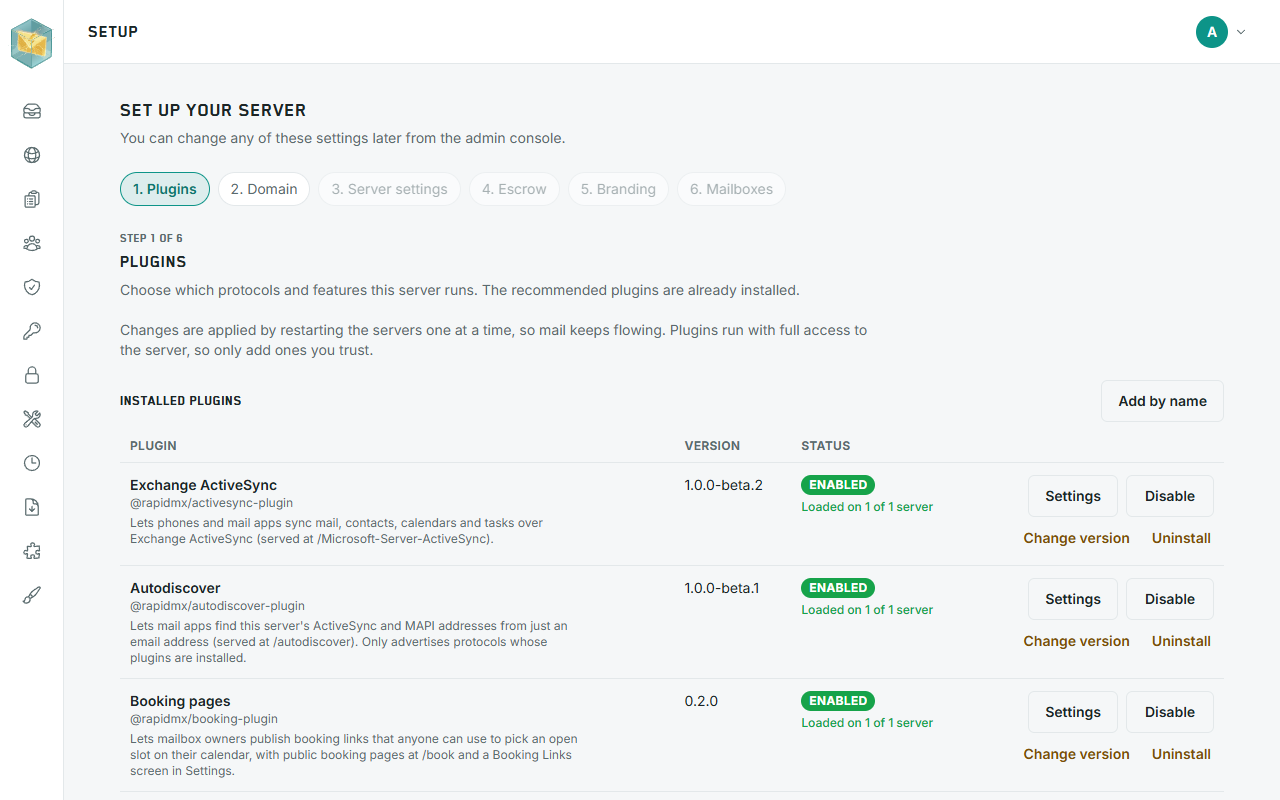
Step 1: Plugins
Plugins add protocols and features to the server. The recommended ones are already installed and enabled:
| Plugin | What it adds |
|---|---|
| Exchange ActiveSync | Mail, contacts, calendars and tasks on phones and tablets |
| Autodiscover | Lets mail apps find this server from just an e-mail address |
| Booking pages | Public booking links people can use to pick a slot on someone's calendar |
| MAPI over HTTP | Outlook for Windows |
| Meet | Private and public video meetings in the browser |
Leave them as they are and click Continue. Changing plugins restarts the server copies one at a time, so mail keeps flowing. Plugins covers adding and removing them later.
Step 2: Domain
- Type your mail domain, for example
example.com, and click Add domain. RapidMX shows the DNS records the domain needs. - Add each record at your DNS provider, exactly as shown. Use the Copy buttons: the DKIM key is long and easy to mistype.
- Click Verify now. The domain's verification status changes once the ownership record is found, and each row of the DNS setup checklist turns Live once its record is found. DNS changes can take a few minutes to appear.
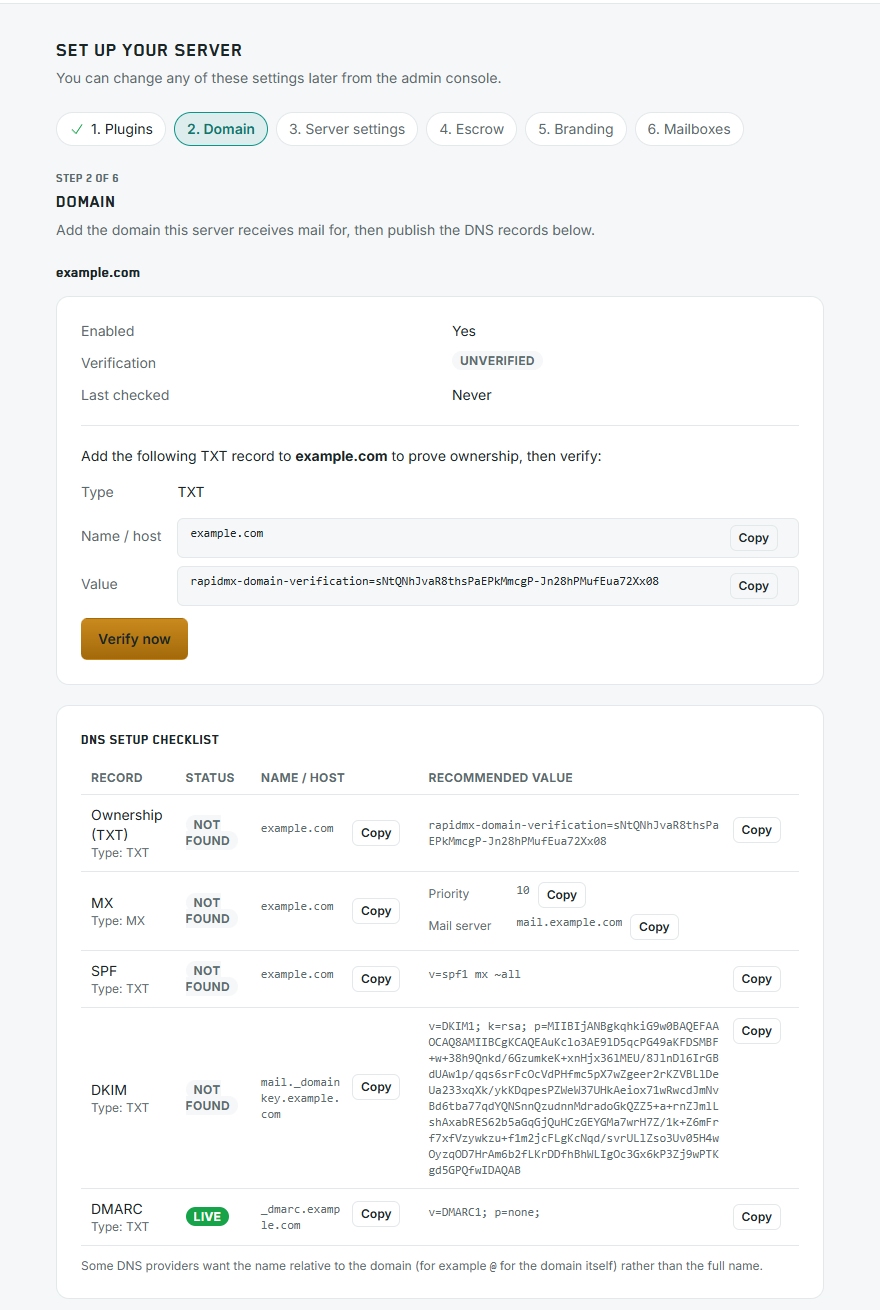
The records look like this. Your ownership token and DKIM key are shown in the console:
| Type | Name | Value |
|---|---|---|
TXT | example.com | rapidmx-domain-verification=<token> |
MX | example.com | 10 mail.example.com |
TXT | example.com | v=spf1 mx ~all |
TXT | mail._domainkey.example.com | v=DKIM1; k=rsa; p=<public key> |
TXT | _dmarc.example.com | v=DMARC1; p=none; |
The checklist can also list an Autodiscover (CNAME) and an Autodiscover (SRV) record, which let phones and Outlook find the server from just an e-mail address. You need only one of the two. See Automatic setup.
Until the ownership record is found, the domain can't send or receive mail.
:::note On AWS The DKIM and MX records come from ses-bridge (step 6 of the AWS steps), so those rows of the checklist may stay red. The ownership record is the one to add here. :::
Some DNS providers want the name relative to the domain (for example @ for the domain itself) rather than the full
name. Domains explains each record in more detail.
Step 3: Server settings
Three groups of server-wide rules. Every default is safe, so you can click Continue and come back later:
- Encryption policy: the rules for end-to-end encryption, such as whether it is automatic.
- Retention policy: how long mail is kept.
- Mailbox policy: the rules for new mailboxes, such as whether people can create their own.
See Encryption and certificates, Compliance and Mailboxes.
Step 4: Escrow
Escrow lets a trusted group of people recover encrypted mail, for example when an employee leaves or forgets their encryption password. Recovering mail needs approvals from several of them. Choose Don't use escrow if you don't need it; you can set it up later. If you turned encryption off in step 3, this step says escrow isn't needed. See Key escrow.
Step 5: Mailboxes
Create your own mailbox, for example [email protected], and click Create mailbox. The form is filled in for you.
Leave Owner user uid as it is: it links the mailbox to the account you signed in with, which is what lets you open
it.
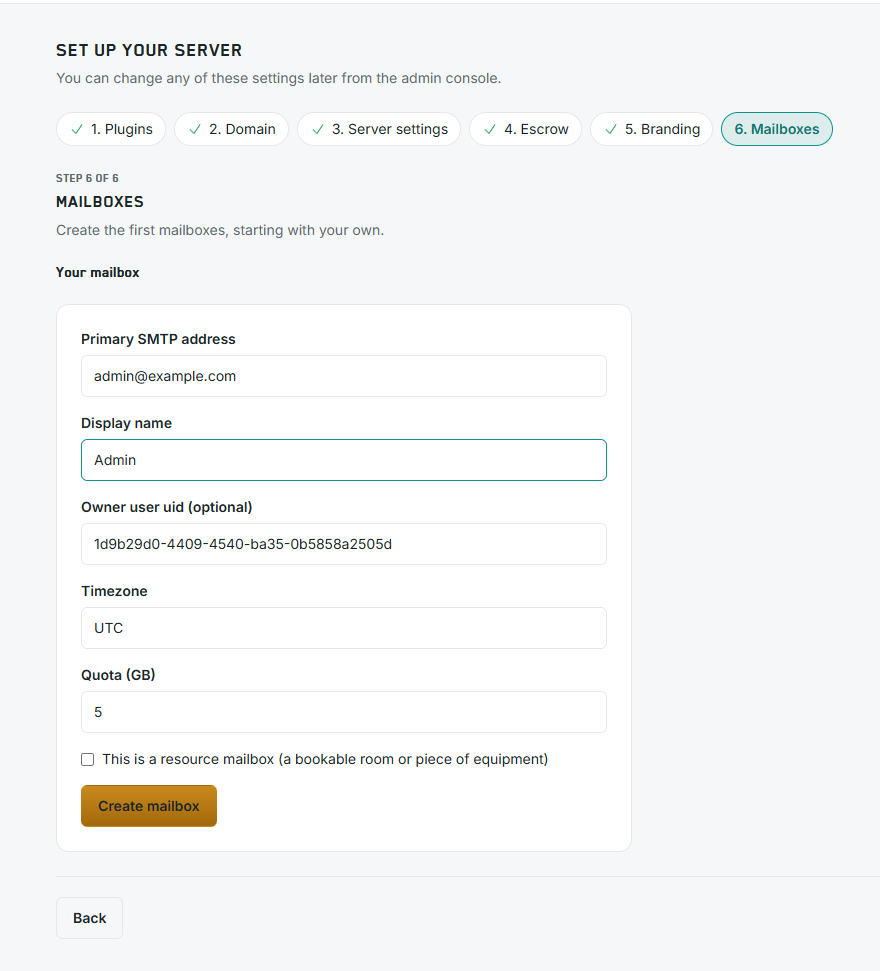
You can create more mailboxes here, or later from Mailboxes in the admin console. Each person's sign-in account is created on the auth-server, see Users and sign-in.
Step 6: Branding
Give the sign-in page and the apps your own logo, name and styles, or leave the defaults. Click Finish setup. Branding has the details.
Open your inbox
-
Open
https://mail.example.comagain. Mail asks you to protect your encryption keys: choose an encryption password, different from your sign-in password. It never leaves your browser.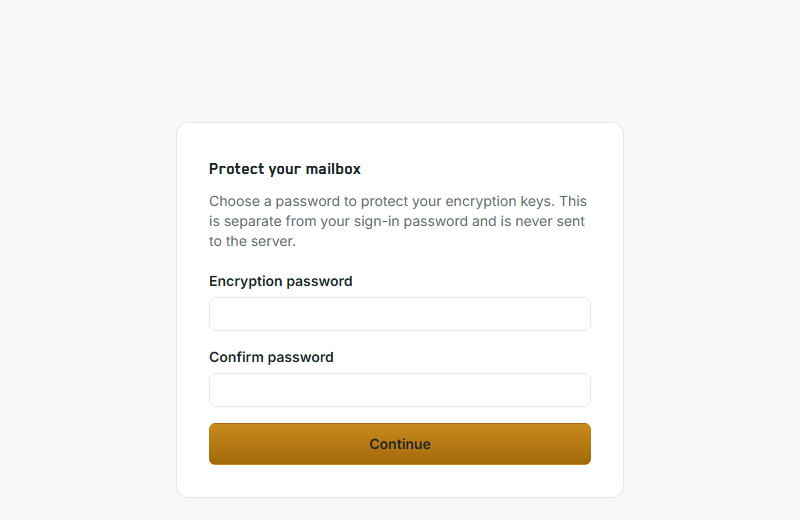
-
Save the recovery codes it shows next. They are the only way back to your encrypted mail if you forget the encryption password. See Encryption.
-
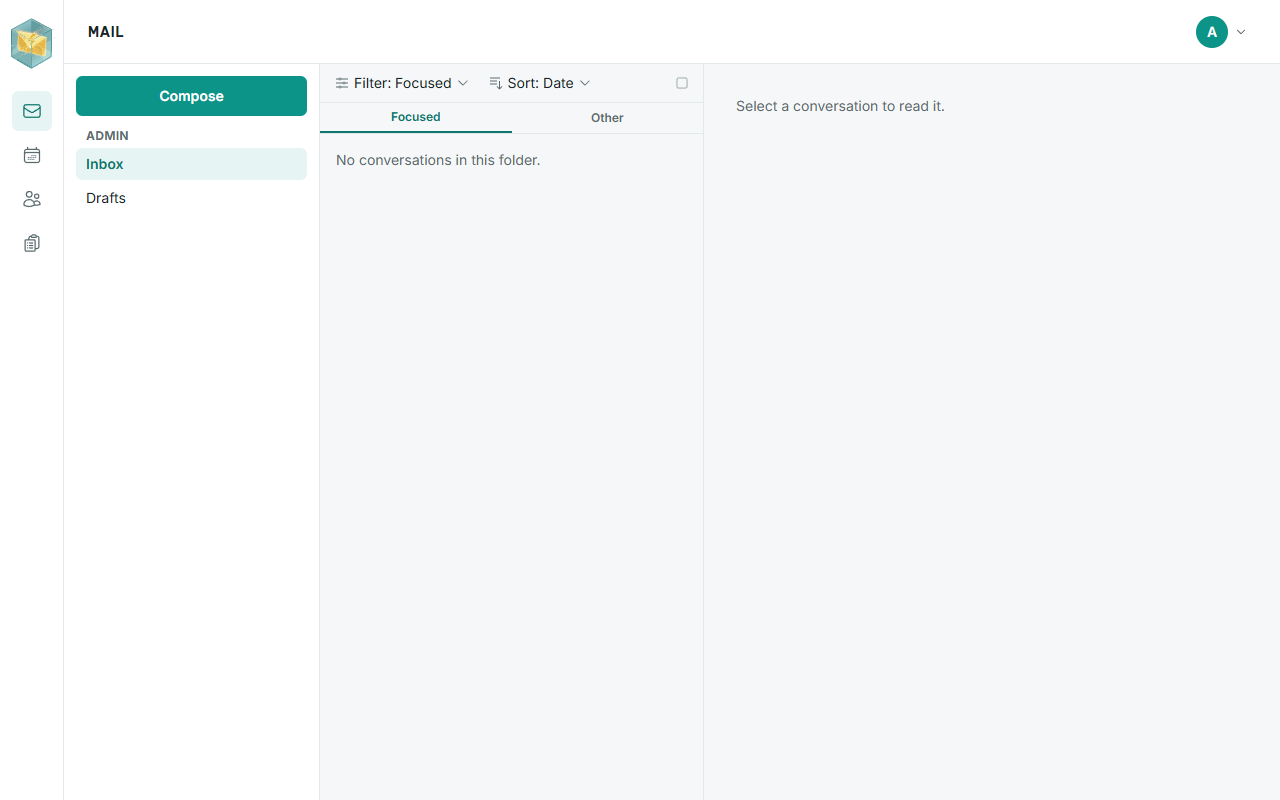
Your inbox opens.
:::tip Good to know Mail only flows once your DNS records are in place and a mail server is running. The Docker Compose quick start has none, so it can't send or receive real mail until you add one. :::
Test mail delivery
- From your new mailbox, send a message to an address at another provider.
- Reply to it from that provider.
- If the message doesn't arrive, or lands in spam, check the DNS checklist on the domain's page in the admin console and the Troubleshooting page.
What's next
- More domains and mailboxes: open the admin console's Domains and Mailboxes pages. On Kubernetes and k3s a
new domain works within seconds, with nothing to restart. With Docker Compose, add it to Postfix's
MAIL_DOMAINStoo. On AWS, deploy ses-bridge again for each additional domain. - Connect your apps: phones, tablets, Outlook and the desktop app.
- Keep it running: Backup and restore and Monitoring.